
This is my first year doing Elf on the Shelf and I have been waiting for months to get started! To those who aren’t familiar, Elf on the Shelf is a Christmas tradition where the Elf is hidden each night as the children sleep for them to find in the morning. He is always into something when the kids find him. Thanks to Pinterest the ante has been officially upped. Instead of plopping your Elf friend on your LazyBoy and calling it a day, moms and dads everywhere have been looking for the most adorable,creative, and disturbing places to hide Santa’s little Helper. He is available at most stores or on Amazon.
UPDATE- A NEW No-Sew version of this hack is now available. Video has been added above but it’s very close to the original version here. Read instructions on the blog post available here:
To aid you in getting your Elf into more trouble than ever, I have put together a tutorial for hacking the doll. As much as we LOVE the story and the game, the Elf included is lacking a lot of features that would make him even cooler. I have turned him into a bendable Elf with hands that stick together using velcro. You can imagine how handy this will be when you need him to hang from the beams in your ceiling…. For those that don’t sew, just gluing velcro on the hands will enhance the Elf’s ability to wrap arms around objects and hold on. For those that do sew, just adding wire will also do what the velcro is intended for as long as you bend his arms around objects. This means you can skip adding velcro if you would like.
Update: there is a second hack available to let you add magnets to your elf to help him climb any metal surfaces and a tutorial for adding festive elf-sized pom-pom to his hat. Check it out after you have finished the first hack!
You will Need:
- 14 Gauge, Bendable Wire. I used the Darice brand and I found it at Joanns for 40% off
- White Velcro
- Seam ripper or Small Scissors
- Wire Cutters
- Needlenose pliers (I used our Leatherman which had a wire cutter and pliers… it worked)
- Sharp sewing needle
- White and Red thread
- Hot Glue Gun/ Hot Glue
Someone on Amazon decided they loved my idea so much they’d create a “hack your elf” kit. No, they didn’t ask my permission and yes it is overpriced. However ,if you just have to see 9.99 of materials you can find it here: .

Step 1:
We will start with the arms. If you haven’t already, free his hands by snipping the stitch that keeps them together. Then, rip out one stitch on the tip of the hand.

Step 2:
Unwind some wire and make a small loop at the end with your needlenose pliers (looping is good, otherwise the sharp straight end might work it’s way out and poke through the fabric). Insert into the hand and push all the way to the top of the arm. You don’t want to cut if from the spool yet.

Step 3:
Once the wire is all the way up, leave room for what will be the loop at the end, then clip using your wire cutters and loop with the needlenose pliers. I pushed the wire back out just a smidge, snipped, looped, then pushed back inside the hand.

Step 4:
After the wire is completely inside the hand, take white (or red if you prefer, like the original stitches) and close hand.

Repeat Steps 1-4 on other hand.
Step 5:
Time for the legs! Unlike the hand, the legs have stitching at the knee. Take your seam ripper and at the BACK of the leg, rip 2 of the stitches in the center. Don’t pull out the threads, they can stay so it still looks stitched.

Step 6:
Remove one stitch at the bottom of the leg/foot. Loop your wire as you did before, make it small enough to fit in the opening. Insert in the foot and keep it centered as you push it through the stitches you ripped earlier. Keep centered up through the padded top portion. Clip and loop as you did with the arms.

Step 7:
Close up the foot using your red thread. Doesn’t need to be fancy, any kid of stitch you know how to do will work.

Repeat steps 5-7 on other leg.
Step 8:
Now we will work on the Hands. Start heating your glue gun if you haven’t already. Take your Velcro and cut a small enough strip to fit your hands. I just eyeballed it. I also rounded the top. Then, use the first as a template for the second and cut that as well. Make sure you have one hook and one loop.

Step 9:
Pre-plan how you want these to stick. I put them on both backs, but if you don’t mind the looks you can put one on the back and one on the front so the hands cross. When you are happy and 100% set with your positioning, apply hot glue to the back of the first hand, then attach your velcro. Repeat for the other hand.

TADA!
Admire your handiwork and start playing with your new, Bendy, Grabby, Super Duper AWESOME Elf. My elf is named Wyatt. After his surgery, Wyatt explored his new superpowers.


Go ahead, make mischief and new memories with your hacked Bendable, Grippable Elf on the Shelf!
Check My Week 1 and Week 2 Elf on the Shelf Ideas. You can also find 12 more ideas, like the Googly Eye-er Elf, on the 12 Elf on the Shelf Ideas post.
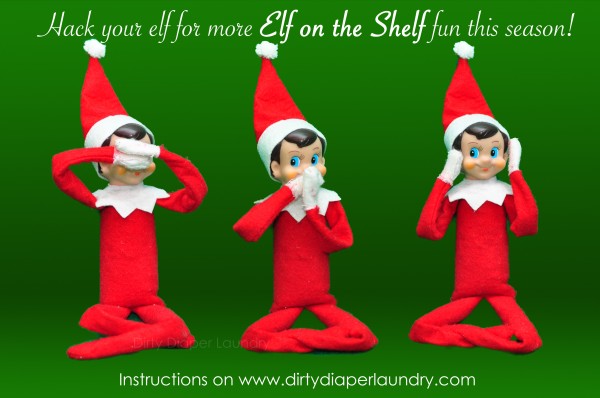
UPDATE: I added looped velcro to the other side of his hands to allow him to ability to clasp his hands in two ways- one as if in prayer and the other which is just adorable!


